
How to Group and Ungroup Things on Canva
Many people rely on Canva to transform their creative ideas into stunning visuals. This user-friendly platform has made it easier than ever for anyone to design professional-quality graphics, presentations, and marketing materials, regardless of their design background.
One essential skill that can significantly enhance your creations is the ability to group and ungroup design elements effectively. By mastering this technique, you can keep your projects organized, neat, and visually appealing.
In this article, we’ll walk you through the straightforward steps to group and ungroup elements in Canva. You’ll learn how to streamline your design process, making it simpler to adjust and manipulate multiple elements at once.
How to Group Things in Canva (Desktop)
Grouping on Canva’s desktop interface offers the easiest and most flexible way to organize your design elements. By utilizing this feature, you can ensure that related items stay together, making your workflow more efficient. This allows for hassle-free adjustments and movement, enabling you to create cohesive designs with ease. Follow the steps below to master the grouping process and enhance your design experience in Canva.
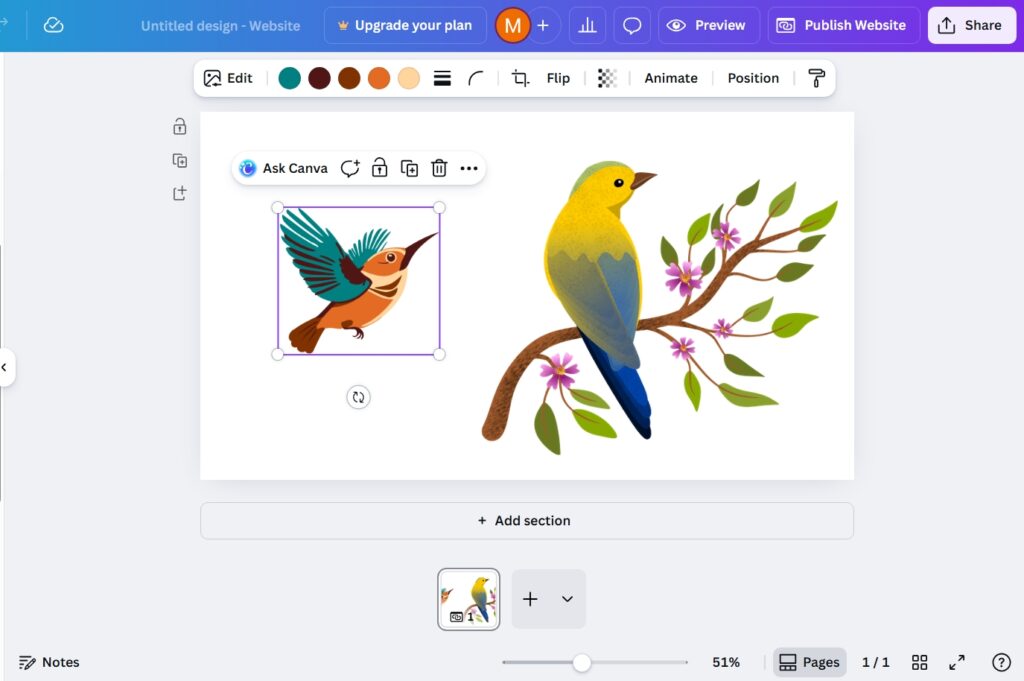
Step 1: Select the Elements You Want to Group
You can select elements in several ways:
Option A: Shift + Click
- Begin by selecting the desired elements for grouping.
- Use Shift + Click to select multiple items efficiently.
- Click the first element, then hold Shift while clicking others.
- This method simplifies the grouping process.
Option B: Drag to Select
- Hover over an empty area on the canvas.
- Click and drag to create a selection box.
- Items within the box will be selected.
- This allows for easy manipulation of multiple elements.
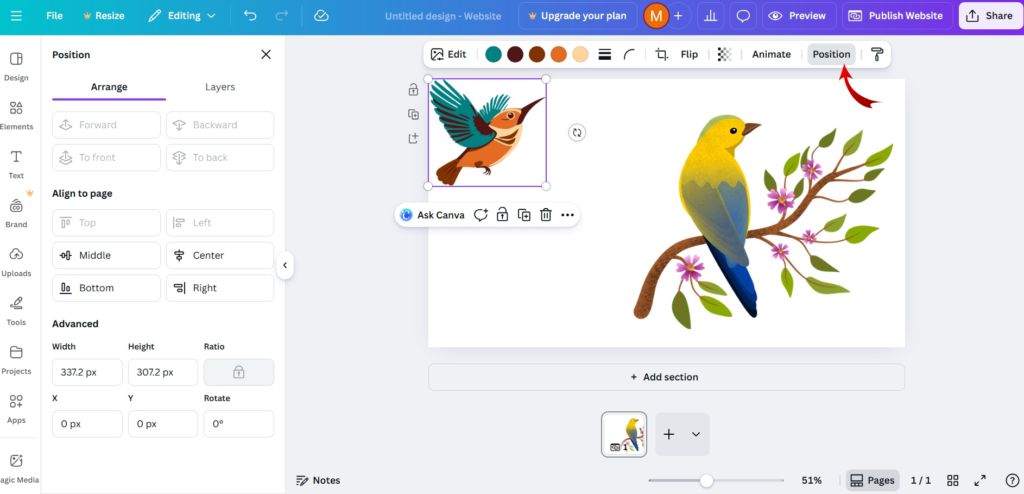
Option C: Use Layers Panel
- Use the Layers Panel for complex designs.
- Access via “Position” > “Layers” or sidebar icon.
- Hold Shift to select multiple layers.
- This simplifies design management.
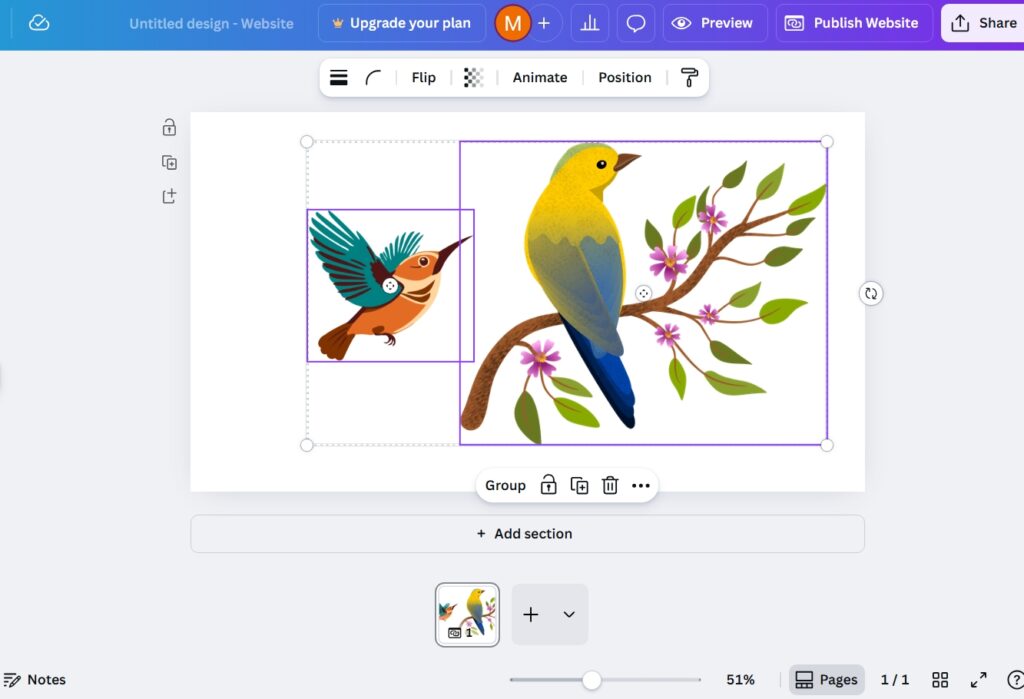
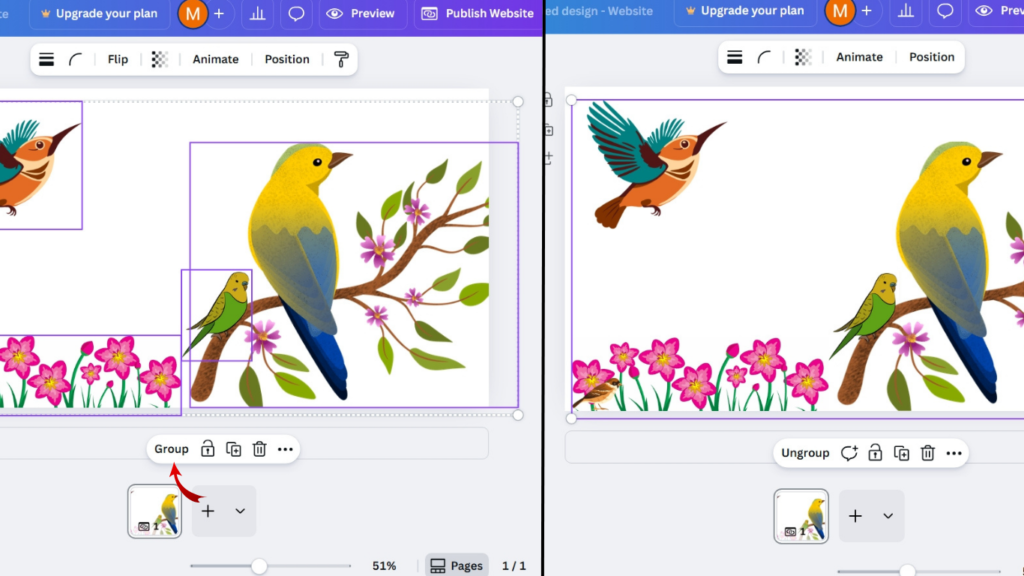
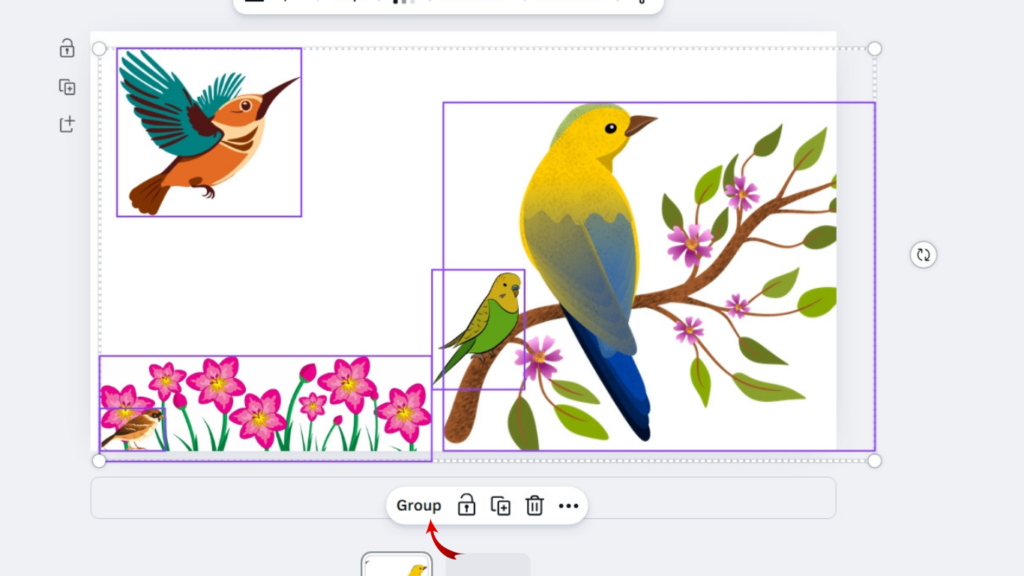
Step 2: Click “Group”
- Select elements and group them using the “Group” button or Ctrl + G/Cmd + G.
- Grouping forms a single unit with a visible bounding box around it.
How to Group on Canva (Mobile)
Step 1: Choose Your Initial Element
Begin by identifying and tapping the specific element you wish to include in your group. This could be an image, shape, or text box — whatever suits your project.
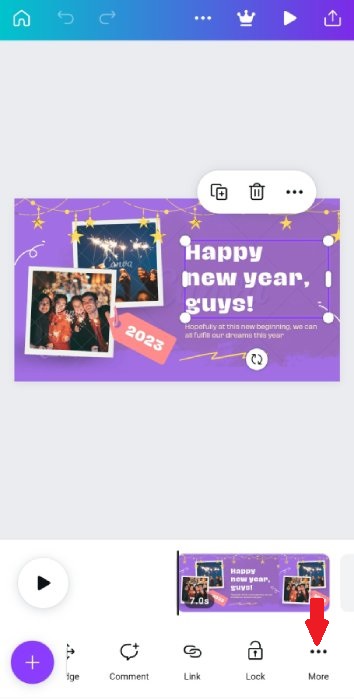
Step 2: Expand Your Selection
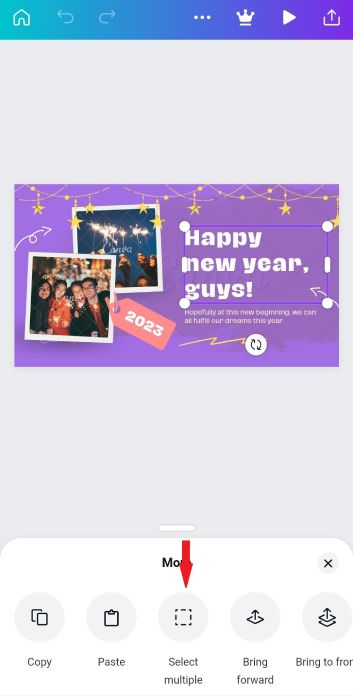
Next, to add more elements, locate the “+” icon on your screen. Alternatively, you can tap and hold your initial choice, then opt for “Multiple” to enable the multi-select feature.
In some app versions, the process is slightly different. Simply tap on your first element again to pull up the selection menu, and then choose “Select Multiple.”
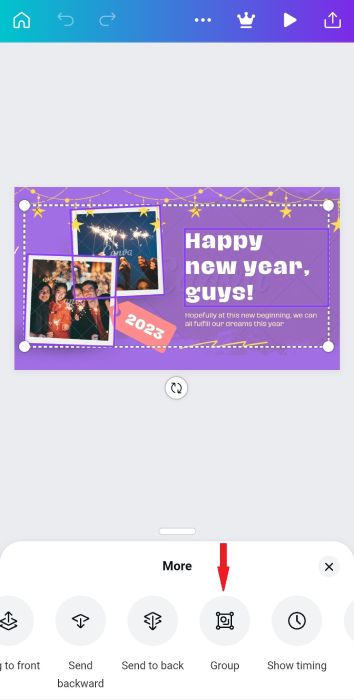
Step 3: Group Your Selections
After you’ve made your selections, look for a toolbar at the bottom of the screen. Here, tap the “Group” option.
This action will merge all your chosen elements into a single cohesive unit, making it easier to move and manipulate them together.
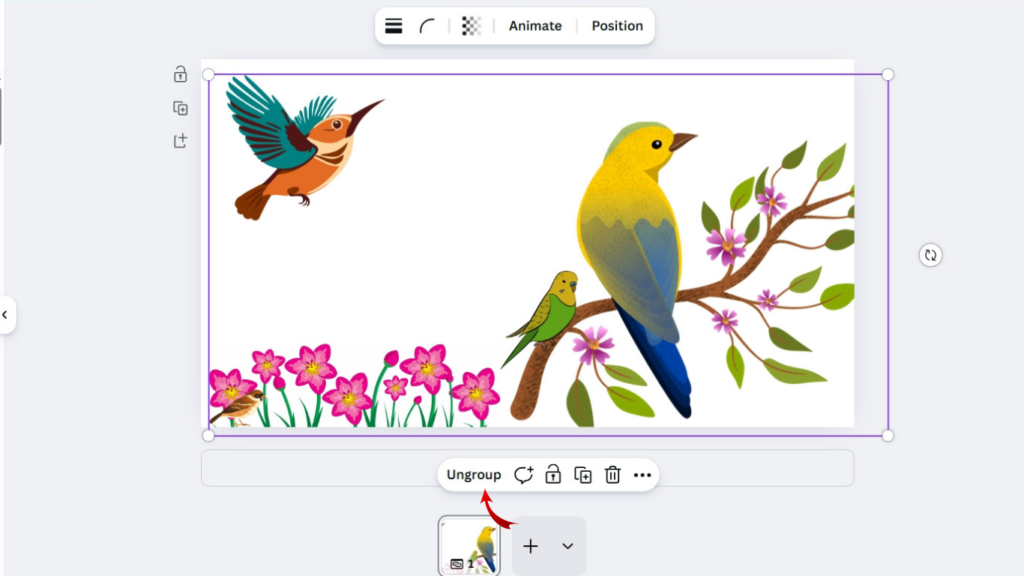
How to Ungroup Things in Canva (Desktop)
Ungrouping objects is a straightforward process that allows you to modify individual elements within a group.
Step 1: Select the Grouped Object
Begin by clicking on the grouped object. This action will make the entire group highlight, indicating that it’s been successfully selected.
Step 2: Click “Ungroup”
Next, locate the Ungroup option in the toolbar. You can either click on “Ungroup” directly or use a keyboard shortcut. For Windows users, press Ctrl + Shift + G, while Mac users can use Cmd + Shift + G.
Once you execute the ungrouping action, the elements within the group will separate. They will now function independently, allowing you to move, resize, or edit each component as needed.
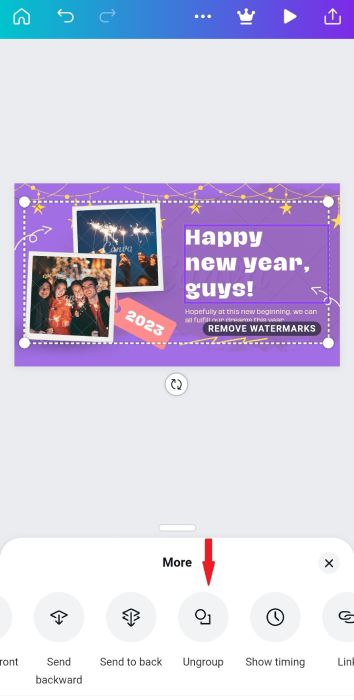
How to Group and Ungroup on Canva Mobile (iPhone & Android)
Step 1: Select the Group
Begin by tapping on the combined object you wish to modify. This action selects the entire group, highlighting it so you can easily see your choice.
Step 2: Access the Toolbar
Once the group is selected, a small toolbar will appear either at the bottom or the top of your screen. This toolbar contains various options for managing your grouped objects.
Step 3: Choose “Ungroup”
Locate the “Ungroup” option on the toolbar. Simply tap this button to proceed.
Upon tapping “Ungroup,” the objects will separate. You can now select each piece individually, allowing for detailed customization and editing. This flexibility enables you to adjust colors, sizes, or positions as needed.
Why Grouping Is Important in Canva?
- Faster Editing: Grouping elements speeds up editing by allowing simultaneous movement and resizing.
- Consistent Spacing and Alignment: Ensures uniform spacing and alignment for a professional look.
- Better Layer Management: Simplifies complex designs by treating multiple elements as a single unit.
- Easier Animation: Facilitates seamless animations, creating cohesive motion for viewer engagement.
- Visual Consistency: Maintains relative positions for a unified appearance, reinforcing brand identity.
How to Remove a Single Item From a Group
- To edit a grouped object, simply double-click on it. This action will take you into what we call “group editing mode.”
- Once you’re inside the group, you’ll see all the elements that are part of it. If you want to remove something, start by clicking on that specific element.
- After you’ve selected it, click and hold your mouse button. Then, drag the element outside of the group’s boundary.
- As soon as you move it out, the element will be removed from the group automatically.
- You don’t have to worry about putting it back if you change your mind; just go back into the group and repeat the process!
- This method makes it easy to customize your designs without complicated steps. Enjoy creating!
Conclusion
Learning how to group and ungroup elements in Canva is a valuable skill that can transform your design process. This feature not only helps you keep your projects organized but also allows for smoother adjustments, giving your layouts a more polished look. Whether you’re making flyers, social media posts, or videos, grouping can really streamline your workflow. Plus, when you pair it with Canva’s animation tools, you can take your designs to the next level, making them more dynamic and appealing.
FAQs
Why can’t I group items in Canva?
You might not be able to group items if they are locked, part of the background, in different frames, or if you haven’t selected everything correctly. Unlocking the items and making sure you select all of them usually fixes the problem.
Can I animate grouped items?
Yes, you can! Once you group your items, just select the group and click on Animate to add some motion. When you export your design as a video, all the grouped items will move together.
How do I save my grouped design as a video?
Go to the Share button at the top right, select Download, choose MP4 Video, and then download your animated design. Your grouped items will be included in the video with the animations you added.
Can I ungroup items later?
Of course! Just click on the grouped item and select Ungroup, and then you’ll be able to edit each item separately.
Does grouping change the image quality?
Nope, grouping doesn’t affect the quality of your images or graphics. It just makes it easier to move and change them as a single unit.