
How to Use Canva: Ultimate Guide for Beginners
Canva is a user-friendly tool that simplifies graphic design for everyone. This beginner’s guide will help you learn the basics and provide useful tips. No special skills are needed, just a passion for creativity. Whether for personal projects or work, this guide aims to elevate your design skills and confidence.
What Is Canva?
Canva was founded in Perth, Australia, on January 1, 2013, by Melanie Perkins, Cliff Obrecht, and Cameron Adams. The initiative aimed to democratize graphic design for all skill levels. The founders encountered difficulties in obtaining funding and support for their platform. A significant early investor was Susan Wu, a noted American entrepreneur with expertise in tech startups.
Canva is an online design tool that facilitates easy graphic creation. It offers templates for various needs, allowing customization with personal text and images. The user-friendly drag-and-drop interface ensures accessibility for everyone, regardless of design skills. A free version provides ample features for beginners. Additionally, the mobile app enables design work on the go. Overall, Canva empowers users to express their creativity effortlessly.
What you can create with Canva:
- Canva offers extensive creative possibilities for social media graphics across platforms like Instagram and Facebook.
- Thousands of templates are available to enhance audience engagement.
- It provides tools for creating professional presentations with customizable elements to captivate viewers.
- Users can design print materials like business cards, brochures, and flyers easily.
- Promotional materials, including posters and banners, can also be designed for events.
- Canva’s user-friendly interface suits those without graphic design experience.
- The platform supports creating infographics and reports, merging visuals and data effectively.
- Suitable for business, education, or personal projects, Canva enables effortless creativity.
How to Use Your Canva Tool?
Sign up for a complimentary account on the Canva website. You have the option to register using your email address, Gmail, or Facebook.Once your account is set up, you can start crafting your designs right away. Don’t feel daunted by Canva; there’s a wide range of possibilities to explore!
Step 1: Setting Up Your Canva Account
To set up your Canva account, visit canva.com. You can register using your email, Google, Facebook, or Apple ID.
Step 2: Exploring the Canva Interface
The Canva interface is easy to use and user-friendly. You’ll find everything you need clearly laid out, which makes designing a breeze. The main sections are simple to navigate, so you can quickly get started on your projects without feeling overwhelmed. Whether you’re creating a graphic, a presentation, or a social media post, everything is organized in a way that helps you focus on your creativity.
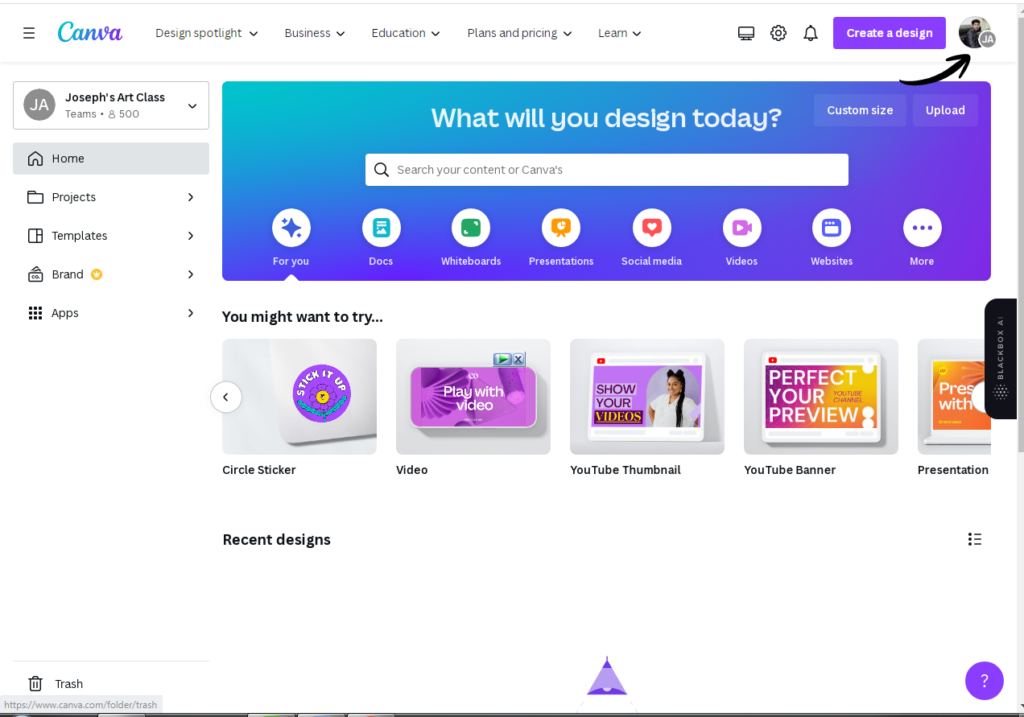
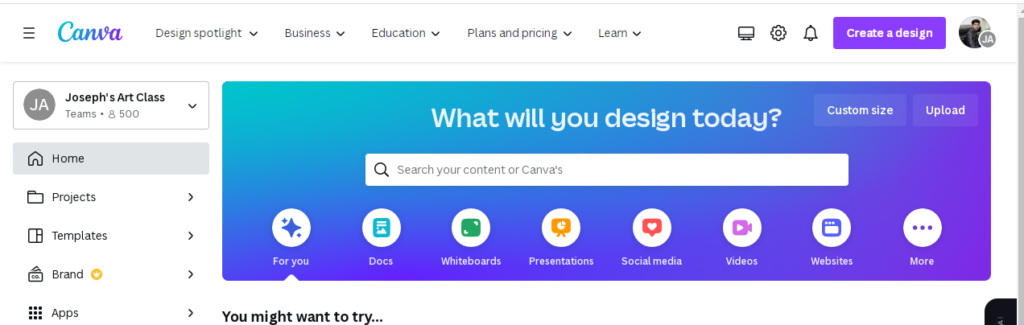
Home Dashboard
Your journey begins at the Home Dashboard, a central hub for all your design needs. Here, you can effortlessly start a new design or browse through a variety of templates to spark your creativity. Don’t forget to check out your previous designs for inspiration, and if you’re a Pro user, access your brand kit to maintain consistency across projects. You can also explore exciting new AI tools and view shared designs from your team, making collaboration a breeze.
Editor Interface
Upon opening a design, you’ll be greeted by the Canva editor, which is meticulously structured for ease of use.
Left Sidebar
The Left Sidebar provides quick access to essential resources, including Templates, Elements, Photos, Text, Styles, Uploads, Audio & Videos, and Apps & AI tools, allowing you to fetch what you need at a moment’s notice.
Canvas
The Canvas is the main working area where your design takes shape, providing a clear view of your project as it evolves.
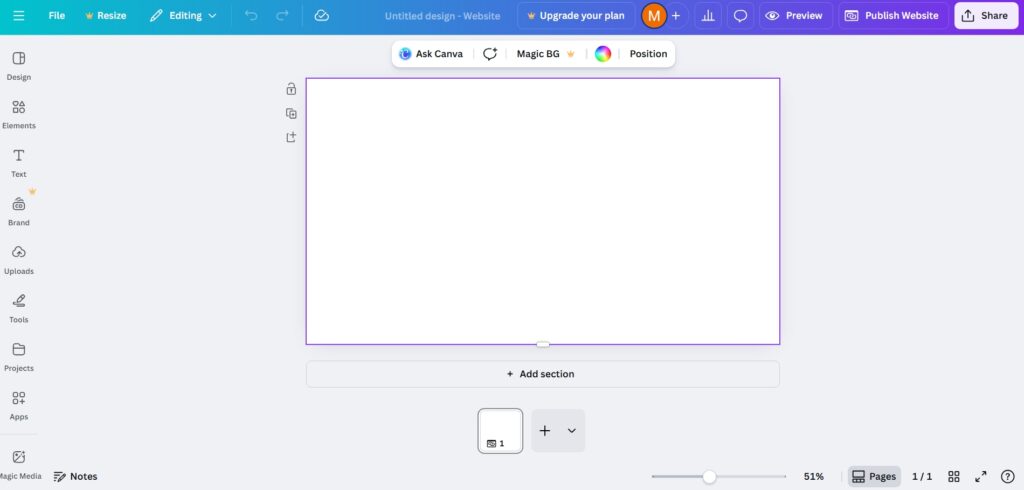
Top Toolbar
The Top Toolbar dynamically changes to display tools based on the selected element. Here, you can adjust Font styles, Colors, Spacing, Alignment, Animation, and Effects, ensuring your design perfectly matches your vision.
Bottom Bar
Finally, the Bottom Bar offers useful options for zoom, page management, and grid views, making it easy to navigate your design. Understanding this interface is vital for designing efficiently and effectively.

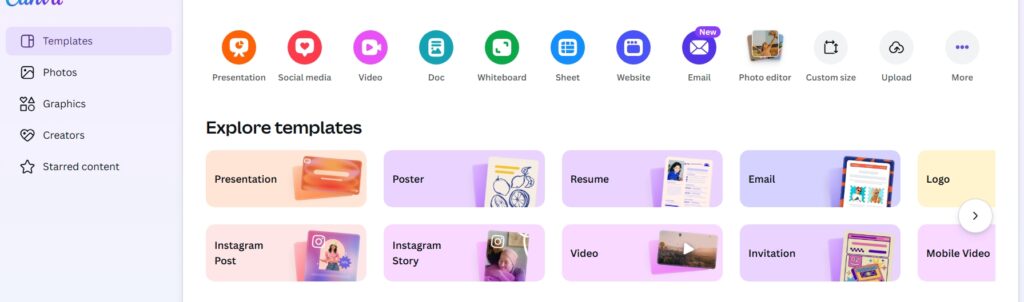
Step 3: Choose a Template or Create a Blank Page
The home page offers various design options for Facebook, YouTube, and Twitter. You can create an Instagram post or design eye-catching posters for events. For video content, choose a YouTube thumbnail to attract viewers. Need a presentation? Click on “Presentation” to create impressive slides. Alternatively, select “Create a blank design” for custom dimensions. These options simplify finding the right format for your project.
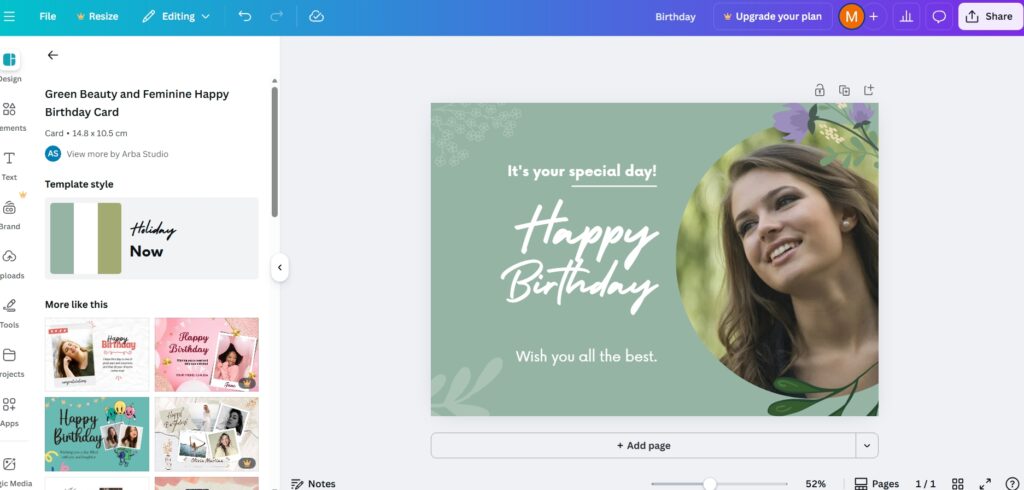
Step 4: Select a Layout Template
Canva provides numerous free and premium templates for easy design creation. Start by selecting a template, then personalize it with your images from Canva’s library or your own. Adjust colors, backgrounds, and elements to align with your branding. Incorporate your message using customizable fonts and sizes for emphasis. You can also reposition, resize, or delete elements as needed to refine your design. With a solid template base, Canva simplifies design, making it enjoyable and accessible for anyone.
Step 5: Choose Blank Pages or Use Ready-made Template
On the left side of your screen, when you choose social media posts, you’ll find a blank canvas with lots of design themes to pick from. To get started, just click on the template icon in the menu. This will help you find the perfect look for your post!
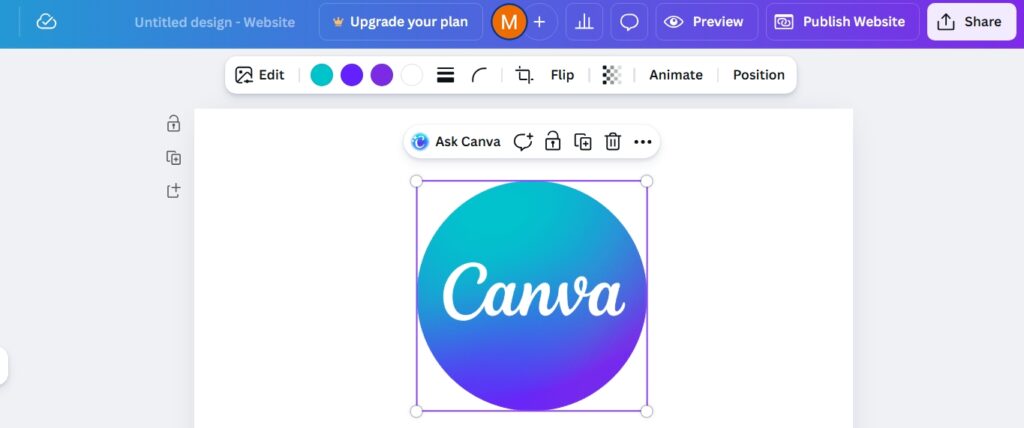
Step 6: Add Background and Elements
You can start adding fun and interesting elements to your design! Elements include shapes, lines, stickers, icons, illustrations, charts, and frames. To find these, just look at the left sidebar, click on “Elements,” and you can either browse different categories or use the search bar. This makes it easy to find exactly what you need to make your project stand out!
Step 7: Edit Elements
Editing elements in Canva is super simple! Just click on the item you want to change, whether it’s text, images, or shapes. You can move things around, resize them, or even change their colors with just a few clicks. If you want to add something new, go to the elements tab and explore all the cool graphics and photos available.

How To Use Canva to Add Fonts to Your Designs?
Incorporating custom fonts into your designs can significantly enhance their uniqueness, providing a distinct look and feel that default fonts in Canva simply can’t achieve. By selecting and adding fonts that align with your brand or personal style, you can create visually captivating graphics that stand out from the crowd.
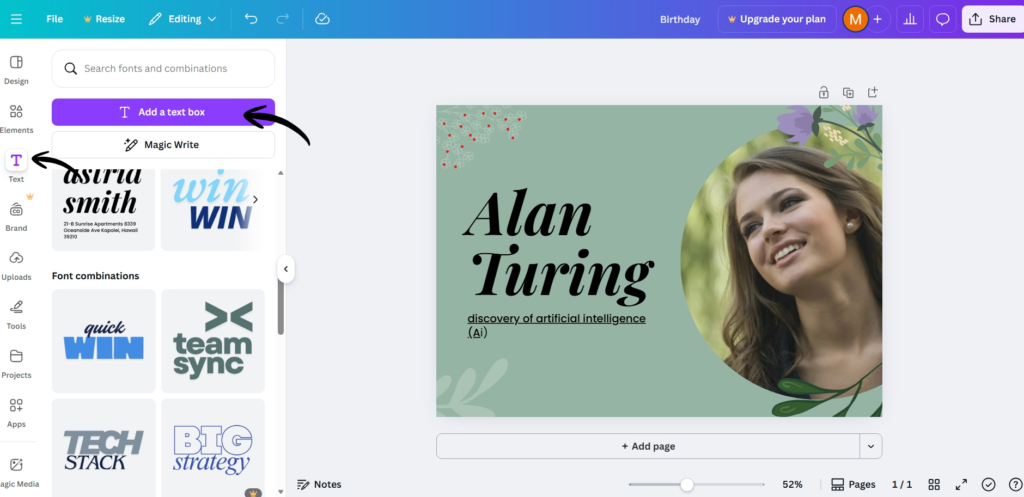
Step 8: Add Text Box
Using Canva to add fonts to your designs is really simple! First, open your Canva project and click on the text box where you want to add a font. Then, go to the top of the screen and click on the font dropdown menu. You can scroll through the list or use the search bar to find a specific font. Once you find the one you like, just click on it, and it will be added to your text. If you want to customize even more, you can adjust the size, color, and spacing. With these easy steps, you can make your designs stand out with the perfect font!
How To Use Canva To Draw?
In this session, beginners, we will explore how to use Canva as an effective drawing tool
Step 9: Choose the Canva Draw Tool
It’s time to pick the Canva Draw Tool. This handy feature lets you add your own drawings and designs right onto your project. Whether you want to sketch a quick idea or highlight something special, the Draw Tool makes it super easy. Just select it from the options and start creating! With pencil and color choices, you can make your design truly unique and personal.
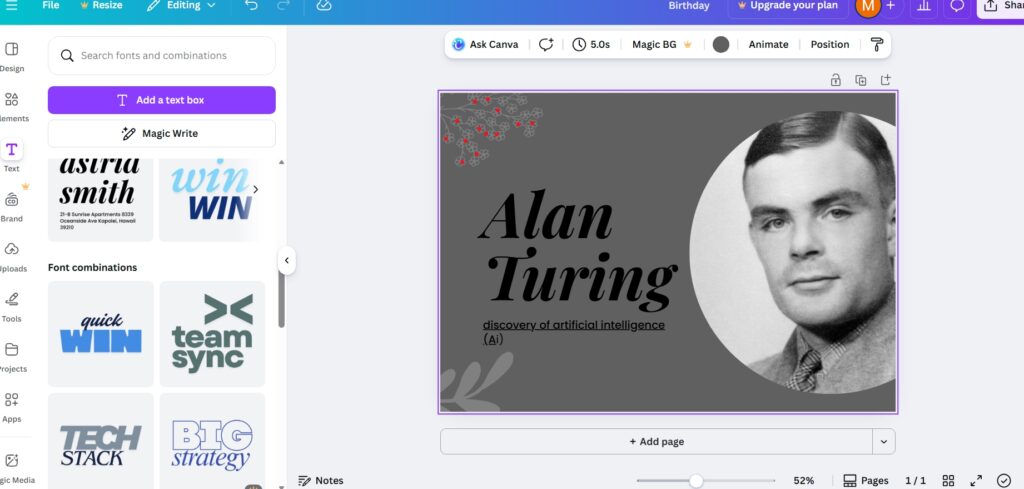
How to Use Canva to Remove Background?
The transparent background removal tool on Canva offers a simple and effective solution for anyone looking to eliminate backgrounds from images without the need for Photoshop or other complex design programs. With just a few clicks, users can effortlessly create professional-looking graphics, making it accessible to even those with minimal design experience. This feature empowers individuals to enhance their visuals for various purposes, all while streamlining the design process.
Step 10: Upload your Image
Once you’re in, upload the image you want to edit. We also upload image of Alan Turing. Click on the image and then look for the “Edit Image” option at the top. You’ll see a “Background Remover” tool – just click on that, and Canva will automatically get rid of the background for you! If there are any bits left you want to erase, you can use the eraser tool to clean it up. With just a few clicks, you can have a neat image ready for your project!
Step 11: The Final Outcome
To save or download your design, just click on the “Share” button and then choose “Download.” You can pick from several options depending on your needs: use PNG for graphics, JPG for photos, PDF for documents, MP4 for videos, and GIF for animations. Once you’ve made your choice, your design will be ready to post online or print out!

Using Canva’s AI Features
Canva has launched a powerful suite of AI features called “Magic Studio.” These tools are designed to make design easy and fun for everyone.
Magic Write (AI Writing Tool)
With Magic Write, you can create text for various needs. Whether you want catchy captions, engaging blog posts, detailed descriptions, or professional email content, this tool does it all. Just open a document or social media post, select Magic Write, and type in your prompt.
Magic Design
If you have an image or concept, Magic Design can help! Simply upload your idea, and Canva will generate several stylish graphic layouts tailored to your content.
Magic Edit (AI Image Editing)
Take control of your images with Magic Edit. This feature lets you remove or replace objects, change backgrounds, and modify photos just by using AI prompts, making editing simple and quick.
Magic Animate
Want to add some flair? Magic Animate automatically brings your designs to life with smooth and professional animations.
AI Image Generator
Need a unique image? With the AI Image Generator, you can describe exactly what you want, and it will create a one-of-a-kind image for you.
These AI-driven features not only save time but also make design accessible to everyone, even beginners. Dive into these tools and watch your creativity soar!
Canva Free vs Canva Pro
| Feature | Canva Free | Canva Pro |
|---|---|---|
| Templates | Limited | All premium templates |
| Photos & Videos | Limited | 100+ million premium |
| Background Remover | Limited | Unlimited |
| Magic Resize | ❌ No | ✔ Yes |
| AI Tools | Basic | Advanced + unlimited |
| Brand Kit | ❌ No | ✔ Yes |
| Storage | 5 GB | 1 TB |
| Social Scheduler | ❌ No | ✔ Yes |
| Transparent PNG | ❌ No | ✔ Yes |
| Team Collaboration | Limited | Advanced |
Why Should You Choose Canva?
- Canva offers an easy-to-use platform for creating engaging graphics, accessible to all skill levels.
- It provides diverse templates for social media, presentations, and marketing materials.
- The tool eliminates barriers to graphic design, enabling users with little experience to create professional work.
- Collaborative features allow teams to share designs, gather feedback, and edit in real-time, boosting productivity.
- Regular updates keep Canva aligned with design trends and user needs.
- Integration with Google Drive and Dropbox enhances user experience.
- Choosing Canva means joining a community that fosters creativity and innovation effortlessly.
Conclusion
Canva is a great tool that makes design easy for everyone, even beginners. Its simple interface and many templates help you create beautiful visuals quickly. Explore the features and experiment with colors, fonts, and images to discover your style. Whether you’re designing social media posts, presentations, or flyers, Canva has what you need. So, start using Canva today and unleash your creativity!